WordPress allows you to install free plugins from its collection in the WordPress Plugin Directory. However, sometimes you need to install a premium or third party plugin that is not available there. If this is the case, we have got you covered.
In this guide, we will walk you through how to upload, install and activate a plugin a WordPress plugin ZIP file manually.
Why Install a Plugin Using a ZIP File?
Well, some plugins are not available in the WordPress Plugin Directory. They are only available on third-party websites where you can download them as a ZIP file. These include custom plugins as well as premium plugins.
Once you obtain your plugin in a ZIP file, you can proceed to upload and install it to WordPress using the following steps.
- Log in to your WordPress dashboard.
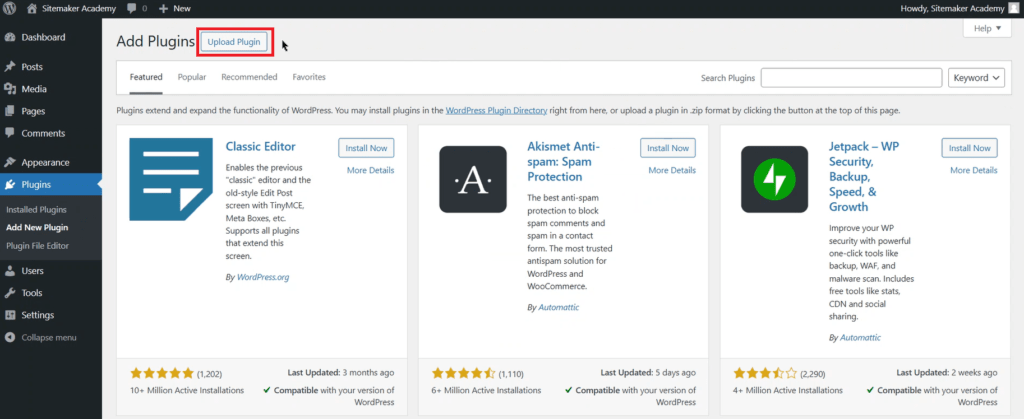
- On the left sidebar, click on Plugins then click Add New Plugin.
- Click on Upload Plugin button at the top of the page.
Step 2: Upload the ZIP File
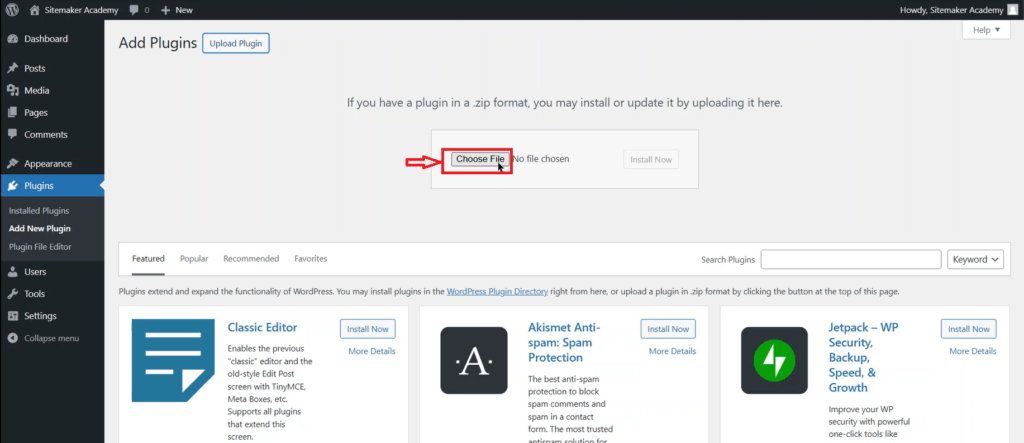
- Click Choose File.
- Select the plugin ZIP file from your computer and click Open.
Step 3: Install the Plugin
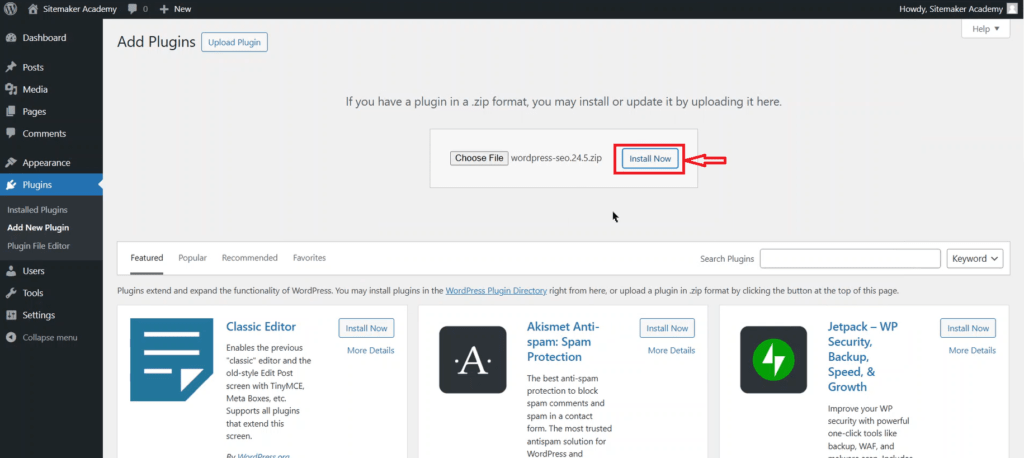
Click on the Install Now button to install the plugin.
Step 4: Activate the Plugin
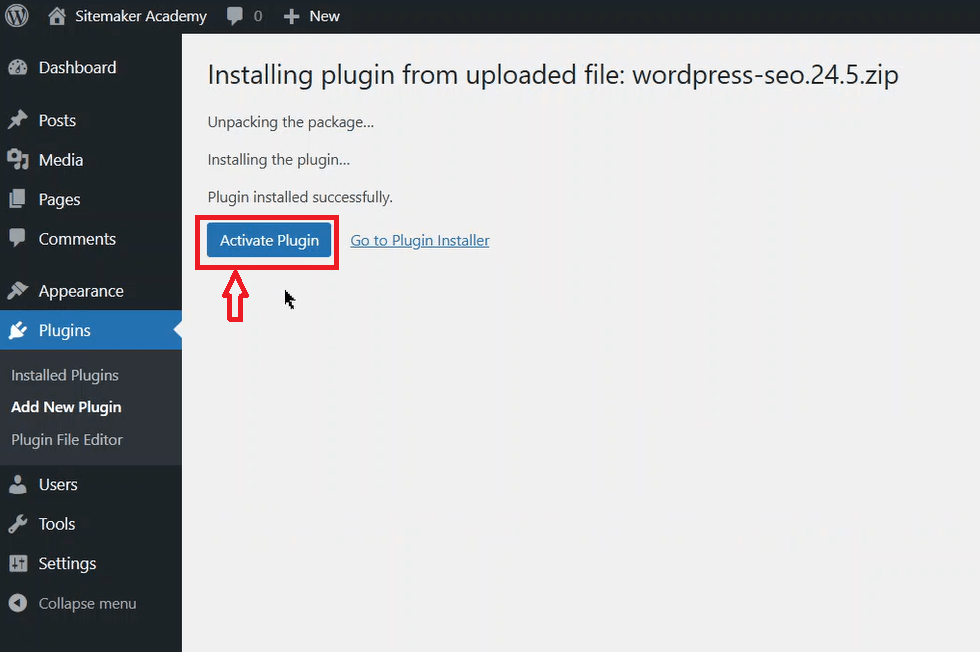
After successful installation, click the Activate Plugin to activate your plugin.
Step 5: Configure the Plugin
Although some plugins work immediately after activation, some need to be manually configured. To do this, go to the left sidebar and click Plugins > Installed Plugins. Your plugin should be in the list of available plugins. You might also find the plugin on the left sidebar of the WordPress dashboard.
Once you locate the plugin, it should have a settings option or instructions on how to configure it.
Final Thoughts
As we have seen, uploading and installing a plugin from a ZIP file is easy. As a precaution, always ensure you download plugins that are not available in the WordPress Plugin Directory.
You can view or download the text guide below or explore the Downloads page for more tutorials.

